Mastering 3D Printing: A Step-by-Step Guide for Beginners
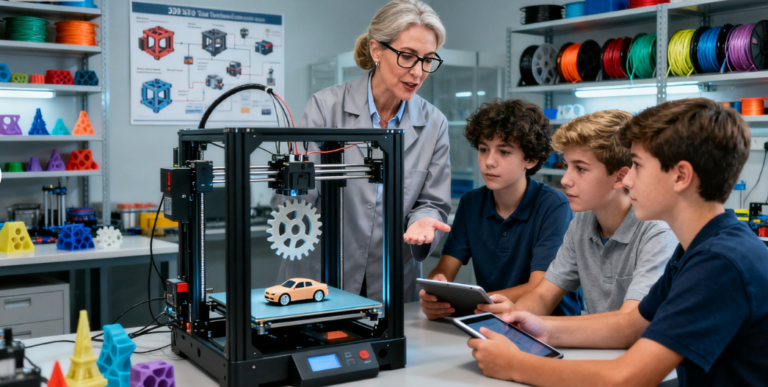
Have you ever dreamed of turning the ideas in your mind into tangible objects within reach? 3D printing makes this dream a reality. It’s no longer the exclusive domain of professional engineers—it’s a powerful tool accessible to every creator and enthusiast. For beginners, the process might seem a bit mysterious, but don’t worry! This guide will break down every step, helping you get started with ease and embark on your 3D creation journey.
Mastering 3D Printing: A Step-by-Step Guide to Techniques and Tips
In this Mastering 3D Printing: A Step-by-Step Guide, you will learn how to create your own models and utilize various tools available.

Whether you are a novice or a seasoned creator, Mastering 3D Printing: A Step-by-Step Guide will enhance your skills and knowledge.
Follow this Mastering 3D Printing: A Step-by-Step Guide to ensure you understand each stage of the process.
As you proceed through the Mastering 3D Printing: A Step-by-Step Guide, remember to take notes and document your progress.
This Mastering 3D Printing: A Step-by-Step Guide will cover both basic and advanced techniques for model creation.
Mastering 3D Printing: A Step-by-Step Guide to Creating Stunning Models
Step 1: Concept and Modeling—From Imagination to Digital Models
Getting started is always the hardest part, but the first step in 3D printing is actually fun: creating your 3D model. This is the “digital blueprint” for your creation, and there are two main ways to obtain it:
With our Mastering 3D Printing: A Step-by-Step Guide, you’ll quickly become proficient in 3D printing.
Download ready-made models (recommended for beginners): You don’t have to start from scratch. Numerous online communities offer vast libraries of free model files. We highly recommend exploring sites like Thingiverse or Cults3D, where you’ll find everything from simple phone stands and small toys to intricate decorative art pieces. This is the best way to familiarize yourself with the process and test your printer.
Design Your Own Models: When you want to create something truly unique, it’s time to roll up your sleeves. Don’t be intimidated by “3D design”—there are plenty of beginner-friendly software options available:
Tinkercad: A free browser-based tool with an intuitive interface. Easily create simple models by dragging and dropping basic shapes and combining them—the absolute best choice for beginners.
Make sure to follow the steps outlined in this Mastering 3D Printing: A Step-by-Step Guide for optimal results.
Fusion 360: A more powerful professional software offering free licenses for individuals and hobbyists. Ideal for those wanting to dive deeper and create functional parts.
Step 2: Slicing—Translating Models into Printer Language
Your printer can’t directly understand .stl or .obj 3D models. This is where slicing software acts as the “translator.” Common tools include Cura and PrusaSlicer (both free).
In this Mastering 3D Printing: A Step-by-Step Guide, we will also discuss troubleshooting common printing problems.
By the end of this Mastering 3D Printing: A Step-by-Step Guide, you will have a thorough understanding of the entire process.
What is slicing? The software “slices” your 3D model like cutting sausage into hundreds of thin cross-sections.
Generating G-code: Based on your settings (layer height, print speed, infill density, etc.), the software generates a code file called G-code. This file contains all instructions for the print head’s movement paths, temperature control, and more. This process is called “slicing.”
Beginner tip: Initially, use the software’s “recommended settings” preset for your printer and material. This is the best way to avoid failures.
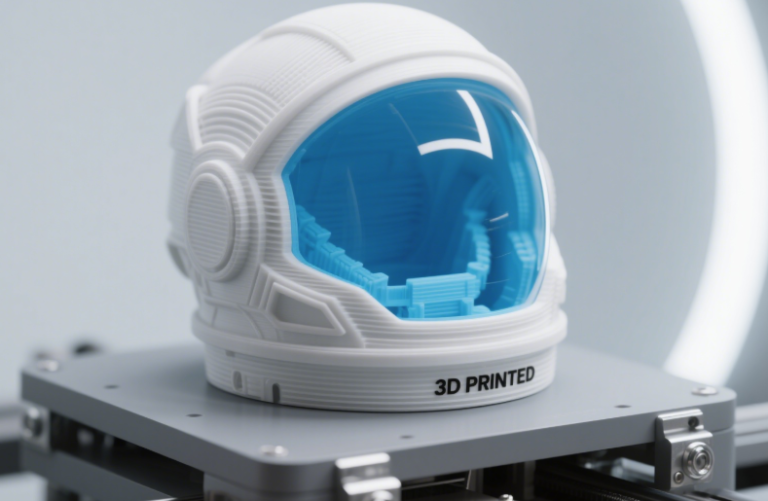
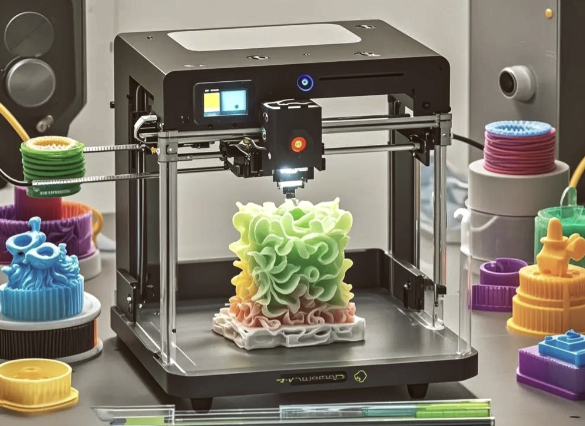
Step 3: Printing—Witness the Magic Unfold
This is the most thrilling part. Transfer the sliced G-code file to the printer via SD card or USB, ensuring the following preparations are complete:
Let’s begin this journey together with Mastering 3D Printing: A Step-by-Step Guide to bring your ideas to life!
Check Filament: The most common beginner material is PLA. It’s easy to print, odorless, and produces stable results.
Level the Print Bed: This is the most critical step for a successful print! The distance between the nozzle and the print bed must be just right. Too far apart, and the first layer won’t adhere; too close, and the nozzle will clog. Carefully follow your printer’s manual to complete the manual or automatic leveling process.
Start Printing: Click “Print” and wait patiently. Observe if the first few layers adhere smoothly to the platform. If successful, the entire print is likely to proceed smoothly.
Step 4: Post-Processing—Perfecting Your Creation
After printing, carefully remove your model from the platform. Depending on your design, additional post-processing may be needed:
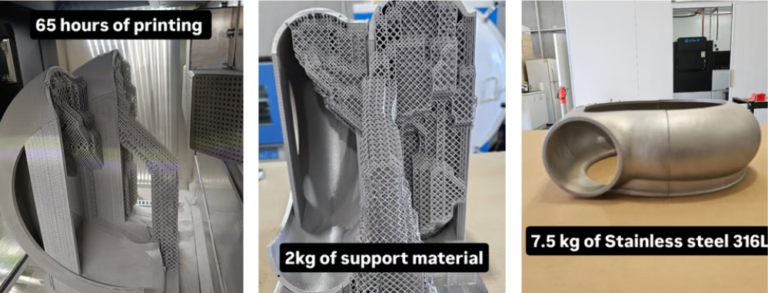
Remove Supports: If your model has overhangs (like an extended arm), slicing software automatically generates removable support structures. Carefully pry them off with tweezers.
Sanding and Painting: Use sandpaper to smooth out layer lines, achieving a more polished surface. Then apply model paint to bring your creation to life.
Final Tip for Beginners:
Your first print likely won’t be flawless. Failed prints are part of the learning curve. Layer misalignment, poor adhesion, and warping—each issue offers a chance to understand your machine better. Don’t get discouraged. Keep experimenting and consult online communities—you’ll soon evolve from a beginner into a 3D printing master.
Now, your creativity is no longer confined to imagination. Starting today, design, slice, and print—embrace the endless joy of turning virtual concepts into a tangible reality!