How to get started with 3D printing
3D Printing Beginner’s Guide: From Zero to Hero, Easily Launch Your Creative Journey
Have you ever been amazed by the intricate 3D-printed creations you see online? From personalized phone stands and complex desktop models to practical home accessories, 3D printing technology is lowering the barrier between “imagination” and “reality” like never before. We know many beginners are eager to get started but don’t know where to begin. Don’t worry—this comprehensive guide will clear all obstacles and lead you step by step into the exciting world of 3D printing.
Step 1: Understanding the Core—What is 3D Printing?
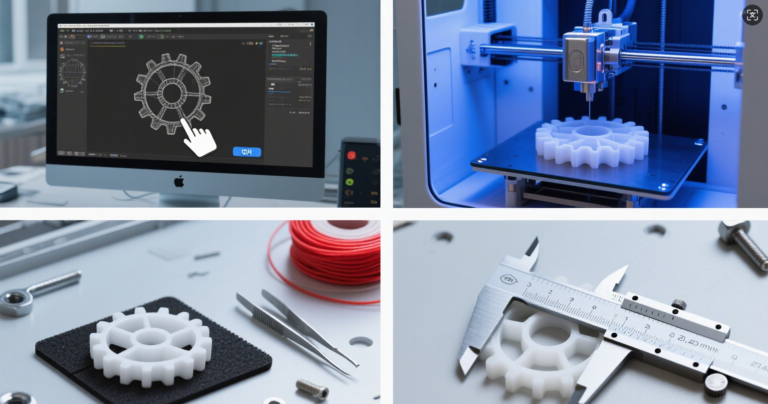
Simply put, 3D printing (also known as additive manufacturing) is a technology that builds three-dimensional objects by layering materials. It’s the complete opposite of traditional “subtractive manufacturing” (like carving)—it’s an “additive” creation process. All you need is a digital model file, and a 3D printer will faithfully turn it into a tangible object you can hold in your hands.
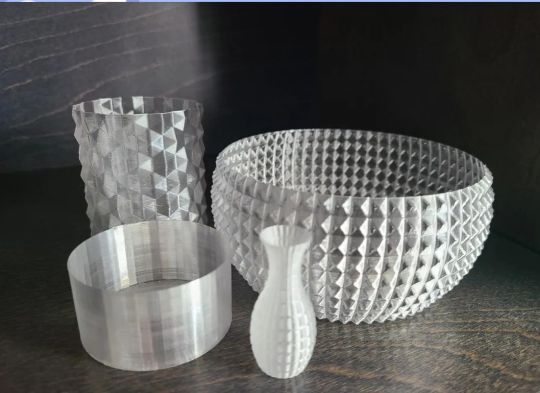
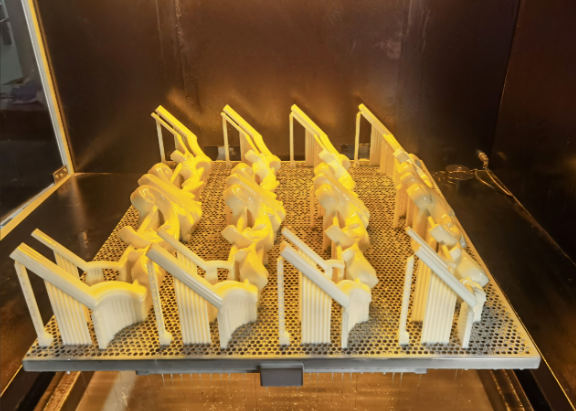
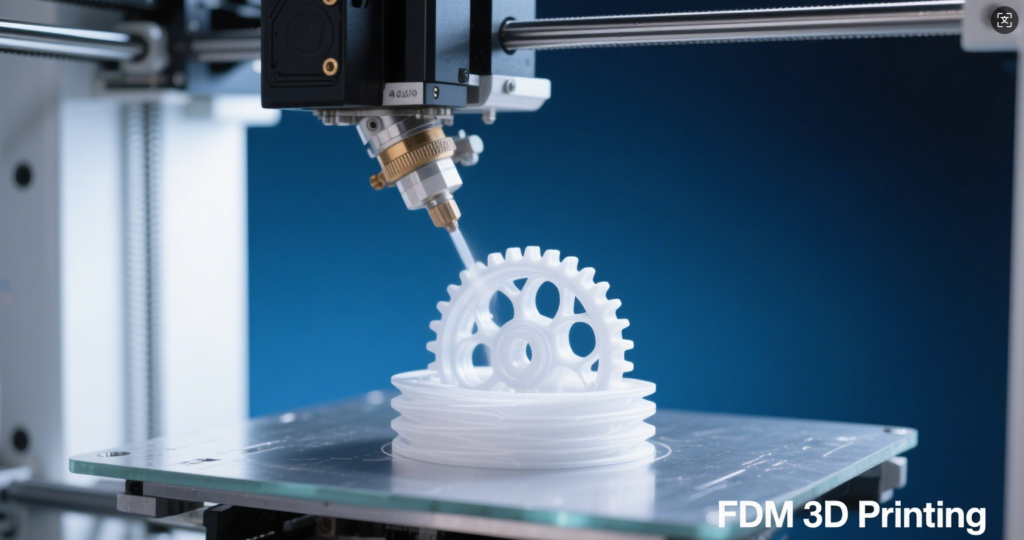
For beginners, the most common technology is FDM (Fused Deposition Modeling), which prints by heating and extruding plastic filament. Its low cost and simplicity make it the top choice for home users and hobbyists. Another method is SLA/DLP (Stereolithography/Digital Light Processing), which uses UV light to cure liquid resin. It offers exceptional precision, making it ideal for printing highly detailed models (like figurines or jewelry), though post-processing is slightly more complex. This guide will primarily focus on FDM printing, the most accessible entry point.
Step 2: Choose Your Gear—How to Pick Your First 3D Printer?
This is the top concern for beginners. With devices ranging from hundreds to thousands of dollars on the market, how do you choose?
Budget: The sweet spot for home FDM printers is $500–$1,000, where you can find highly reliable and feature-rich entry-level models.
Key Features:
Auto-bed Leveling: Highly recommended! This feature saves beginners significant hassle and greatly enhances the initial experience.
Build Volume: Choose based on the size of your intended prints. Standard dimensions (e.g., 20x20x20cm) suffice for most needs.
Step 3: From Virtual to Reality—Where to Find 3D Models?
You don’t need to learn complex 3D modeling from scratch (though mastering it will open new worlds), because the internet offers vast free resources:
Thingiverse: The world’s largest free 3D model repository with an incredibly rich collection—the perfect starting point for beginners.
Cults 3D: Features both free and paid models, often boasting exquisite and unique designs.
Simply search for your desired item (e.g., “cat toy,” “cable organizer”) on these sites and download the STL format file.
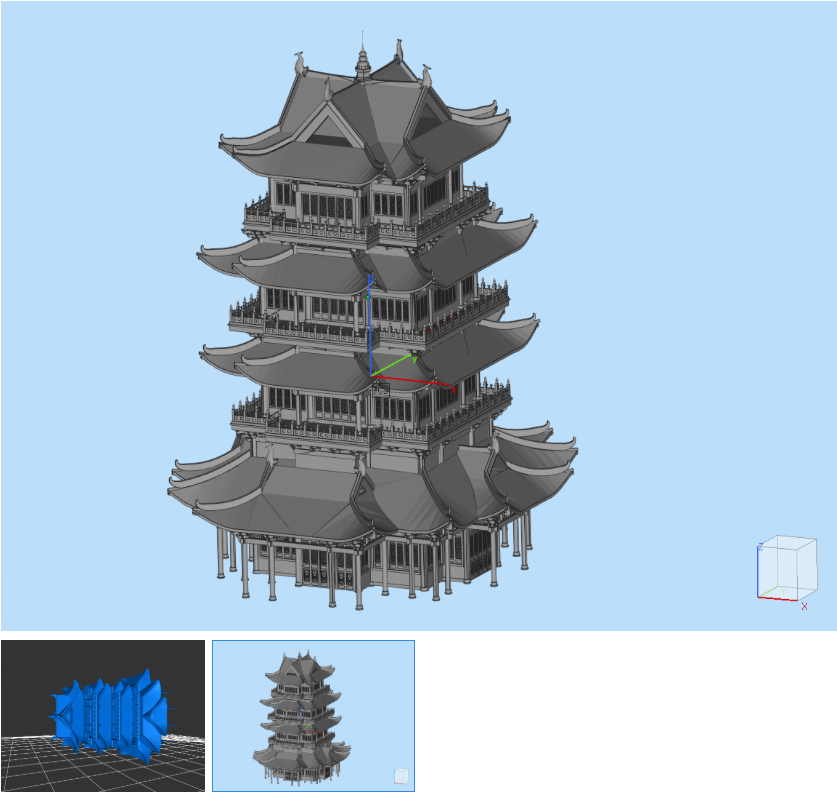
Step 4: Preparing for Print—Understanding Slicing Software
Printers cannot directly interpret STL files. They require “slicing software” to convert these files into executable G-code instructions for the printer. This process is akin to providing the printer with detailed “layer-by-layer construction blueprints.”
Common Software: Cura and PrusaSlicer are two powerful, completely free slicing programs compatible with most mainstream printers.
Core Settings: As a beginner, you first need to understand several key parameters:
Layer Height: Determines the print’s surface smoothness. Smaller layer heights yield smoother surfaces but increase print time.
Infill Density: Determines how solid the object’s interior is. Typically, 15%-20% infill strikes a good balance between strength and material savings.
Supports: When a model has overhangs, support structures must be added. These need to be manually removed after printing.
Import the STL file into slicing software, configure basic settings, save the sliced G-code to an SD card or send it directly to the printer via network, and you’re ready to print!
Step 5: Launch Your First Print!
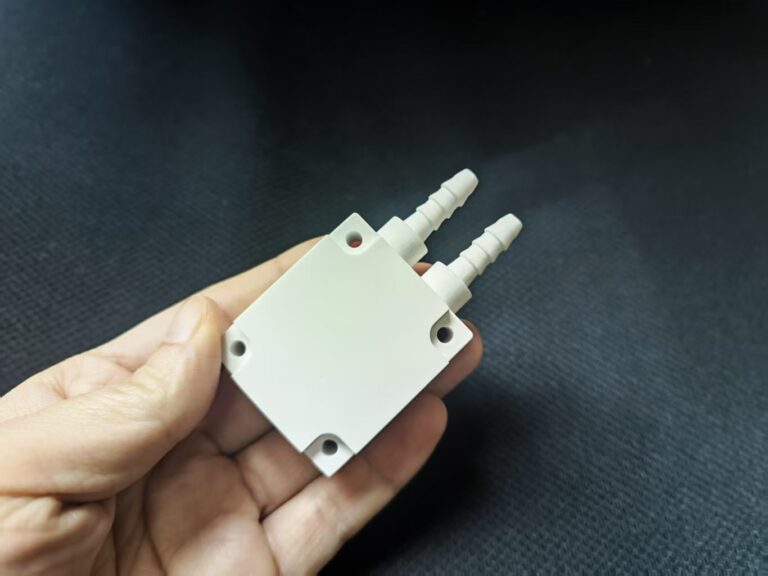
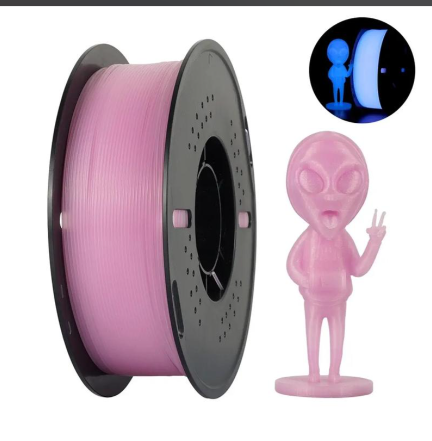
Prepare Filament: PLA is the most common material—eco-friendly, non-toxic, low-temperature printing, and easy to shape, making it perfect for beginners.
Calibrate the printer: Ensure the print bed is clean and leveled (if not auto-leveling). Strong adhesion of the first layer is crucial for success.
Start printing: Choose a small, simple test model (like the Benchy boat or calibration cube), and patiently await your first creation. Never leave long prints unattended.
Frequently Asked Questions and Path to Mastery
What if my print fails?
It happens all the time! Stringing, layer misalignment, and warping are common issues. Fortunately, solutions for nearly every problem can be found through search engines. Persistence and tweaking parameters are essential steps on your journey to improvement.
Post-Processing:
After printing, you can refine your creations through sanding, painting, or other finishing techniques.
Learning 3D Modeling:
When downloading models no longer satisfies you, it’s time to learn modeling. Tinkercad (online, very simple) and Fusion 360 (powerful, free for hobbyists) are excellent starting points.
3D printing is a captivating hobby that blends creativity, technology, and patience. It’s not just a machine—it’s a bridge transforming your ideas from digital bits into physical atoms. Don’t be intimidated by early challenges—each successful print brings immense satisfaction.
Now you have enough knowledge to take that first step. Bravely choose your first printer, download a model you love, and embark on this wonderful journey of creation! Welcome to the world of 3D printing!